Baking is a magical experience, especially when it involves a beloved treat like Disney’s famous chocolate chip cookies. Known for their perfect balance of crisp edges and gooey centers, these cookies bring the enchantment of Disney right into your kitchen. Whether you’ve had them at a Disney park or simply heard about their iconic flavor, now you can recreate the magic at home.
One key to baking success is using precise measurements, and with metric measurements, you can achieve the perfect cookie every time. Unlike the sometimes ambiguous cup measurements, grams and milliliters offer an exact science for more consistent and delicious results. This guide will walk you through Disney’s chocolate chip cookie recipe, providing you with metric measurements to ensure you get it just right. From choosing the right ingredients to mixing and baking with confidence, let’s dive into a fun and straightforward recipe that will leave everyone asking for seconds!
Why Disney’s Chocolate Chip Cookies Are a Fan Favorite
Disney Chocolate Chip Cookie Recipe Metric Measurements

Disney’s chocolate chip cookies hold a special place in the hearts of fans worldwide. These cookies are more than just a treat—they represent the magic of Disney’s storytelling and their exceptional attention to detail, even in the culinary world. Here’s why they are so beloved:
1. A Taste of Nostalgia
The name “Disney” evokes fond memories of childhood trips to theme parks, beloved movies, and the magical world of imagination. Recreating these cookies at home allows fans to relive those cherished experiences. Each bite transports you back to the magic of Main Street, USA, where the smell of freshly baked cookies wafts through the air.
2. The Perfect Balance of Texture and Flavor
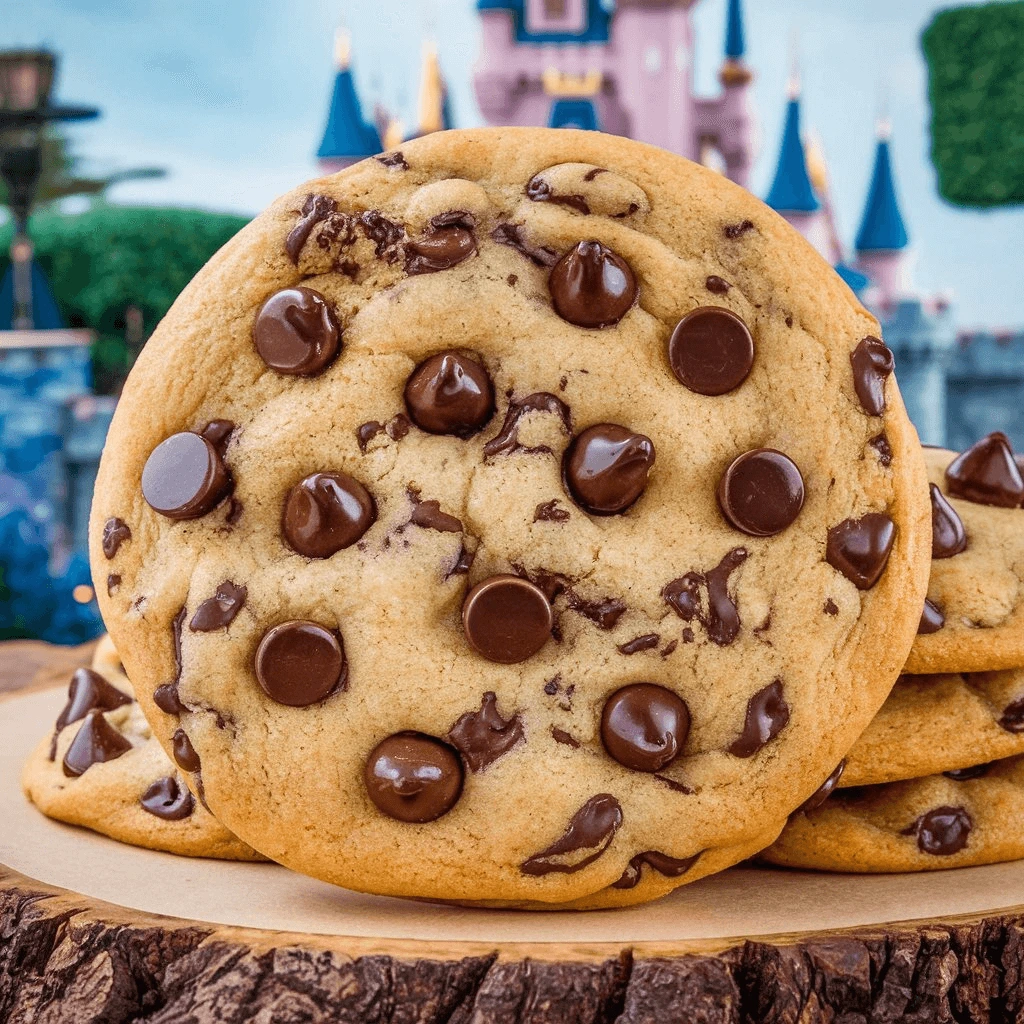
Disney’s recipe is famous for striking a perfect balance: crispy on the outside with a gooey, soft center. The rich flavor of premium chocolate chips and the buttery, caramelized base make these cookies irresistible. The addition of brown sugar ensures a hint of molasses-like sweetness, making the cookies complex and memorable.
3. Replicating the Disney Magic at Home
There’s something enchanting about bringing the essence of Disney into your kitchen. The recipe allows fans to not just bake cookies but create an experience. Sharing these cookies with loved ones feels like sharing a piece of the Disney experience. Plus, baking them with family or friends becomes a fun, nostalgic activity, just like a visit to the parks.
4. A Cookie for Everyone
Disney’s recipes are designed with wide appeal. Whether you’re baking for children, teens, or adults, these cookies are a hit at every table. The straightforward recipe and the use of classic ingredients make it accessible for beginners while leaving room for creativity with variations and mix-ins.
This combination of nostalgia, taste, experience, and universal appeal makes Disney’s chocolate chip cookies a timeless favorite among bakers and Disney enthusiasts alike.
The Importance of Metric Measurements in Baking

Baking is often referred to as a science, and for a good reason. Precise measurements and accurate ingredient ratios are critical to achieving consistent results. Switching to metric measurements, known for their accuracy and simplicity, is a game changer for both novice and professional bakers. Here’s why metric measurements are so important:
1. Precision Equals Perfection
Unlike cooking, where “a pinch of this” or “a dash of that” works, baking demands precise proportions. Even a slight variation in the amount of flour, sugar, or butter can drastically alter the texture, taste, and structure of your baked goods.
- Metric measurements, based on grams and milliliters, are far more precise than their cup-and-teaspoon counterparts.
- A gram is a fixed unit, whereas measuring cups can vary based on how ingredients are packed or scooped.
2. Simplifies Scaling Recipes
Metric measurements make it easier to double, halve, or otherwise adjust recipes. When using grams or milliliters, scaling is straightforward with simple arithmetic.
- Example: Doubling “125 grams of butter” gives a clear “250 grams,” whereas doubling a “1/2 cup of butter” can be confusing without a proper conversion tool.
- Precision ensures that ratios of wet to dry ingredients remain consistent, which is essential for baking success.
3. Universality in Baking
The metric system is the standard for most of the world, which makes recipes using metric measurements universal.
- For international recipes, especially French, Italian, or Asian baking recipes, metric units allow you to follow instructions as intended without conversions.
- Baking with grams ensures consistency and makes it easier to replicate recipes exactly as they were developed.
4. Minimizes Errors in Conversion
When converting recipes from imperial to metric, errors are common.
- Miscalculating the weight of flour, for instance, can lead to dense, tough cookies instead of light, soft ones.
- A single teaspoon misjudged during conversion might alter the leavening effect of baking soda or powder, ruining the final product.
5. Professional-Level Baking at Home
Using metric units elevates your baking skills to a professional level.
- Bakeries and professional kitchens worldwide use scales and grams for consistency.
- By adopting their techniques, you can improve your results and bake with greater confidence.
Tips for Transitioning to Metric Measurements
- Invest in a digital kitchen scale for accurate weighing.
- Get familiar with common metric conversions (e.g., 1 cup of flour = approximately 120 grams).
- Practice with recipes already written in grams or milliliters to build your confidence.
Switching to metric measurements is not just about precision; it’s about making your baking journey simpler, more enjoyable, and filled with consistently delicious results.
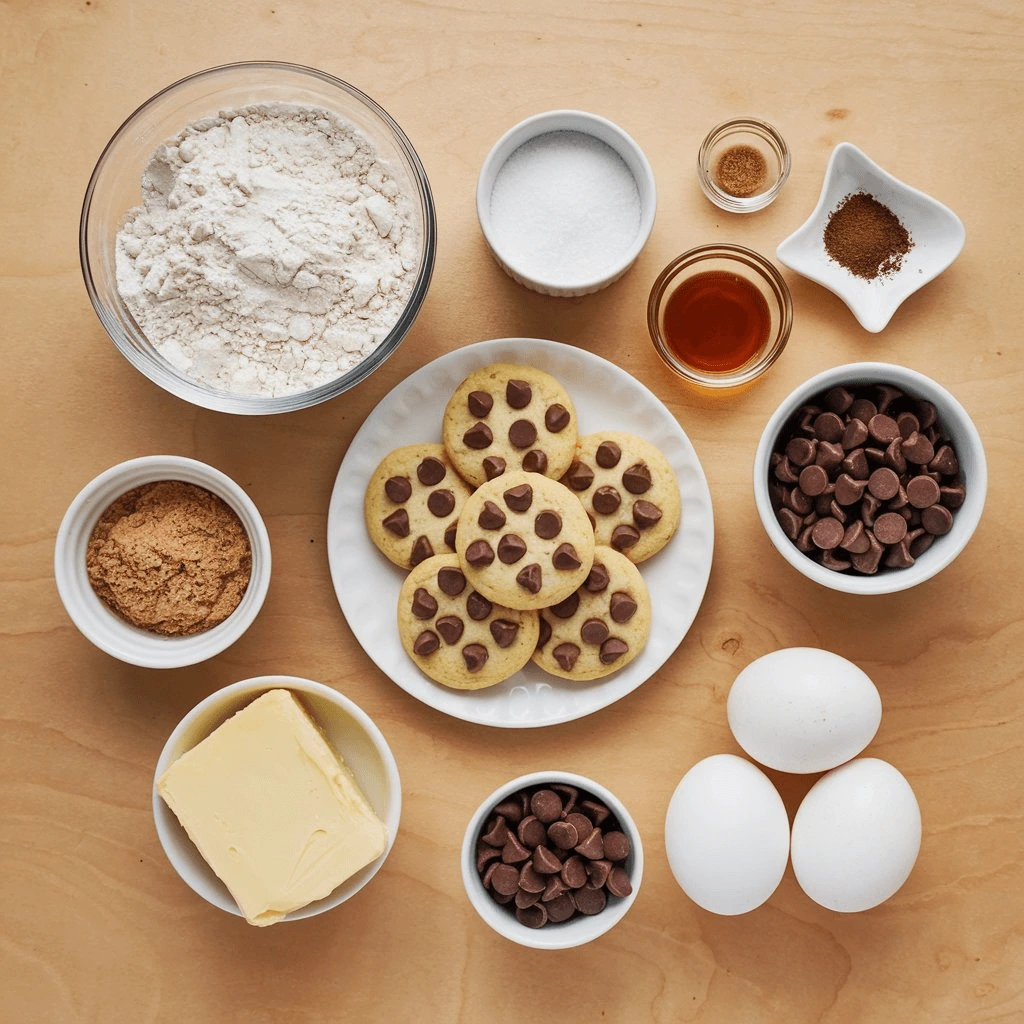
Ingredients You’ll Need for Disney’s Chocolate Chip Cookie Recipe

The key to making Disney’s chocolate chip cookies lies in using high-quality, thoughtfully chosen ingredients that come together to create a magical treat. Here’s a closer look at the ingredients and their roles in this beloved recipe, along with tips to make your baking even better.
1. Flour: The Foundation of Cookies
The recipe calls for plain or all-purpose flour, which provides the structure to hold the cookie together.
- Why it matters: Too much flour can make cookies dense, while too little can result in overly spread cookies.
- Tips: Use a kitchen scale to measure precisely, avoiding the “scoop and pack” method. Sift the flour for a more uniform texture.
2. Baking Soda: The Secret to Light and Airy Cookies
This leavening agent helps the cookies rise slightly, giving them a soft and chewy texture.
- Why it matters: It reacts with acidic ingredients like brown sugar, ensuring the cookies don’t turn out flat.
- Tips: Make sure your baking soda is fresh (less than six months old) for optimal results.
3. Butter: The Flavor Booster
Unsalted butter is the fat base, lending rich flavor and tenderness to the cookies.
- Why it matters: Butter plays a key role in creating the balance between crisp edges and chewy centers.
- Tips: Use softened butter at room temperature to blend more easily with sugar, creating a smooth and creamy base.
4. Sugars: The Sweeteners and Caramelizers
The recipe uses two types of sugar: granulated and brown sugar. Each serves a unique purpose:
- Granulated sugar: Adds sweetness and helps the cookies spread.
- Brown sugar: Enhances flavor with its molasses content and keeps the cookies moist.
- Tips: For a deeper flavor, use dark brown sugar, or adjust the ratio of the two sugars slightly to achieve your preferred texture.
5. Eggs: The Binder
Eggs are essential for holding the dough together and contributing to its structure.
- Why it matters: Eggs add moisture and richness, ensuring a tender bite.
- Tips: Use large eggs at room temperature for better blending with other ingredients.
6. Vanilla Extract: The Flavor Enhancer
This ingredient adds warmth and depth of flavor to the cookies.
- Why it matters: Vanilla brings out the sweetness and complements the chocolate.
- Tips: Use pure vanilla extract instead of artificial vanilla for a more authentic taste.
7. Chocolate Chips: The Star Ingredient
The semi-sweet chocolate chips are the highlight of this recipe, providing bursts of chocolaty goodness.
- Why it matters: The balance of sweetness and bitterness in semi-sweet chocolate pairs perfectly with the cookie dough.
- Tips: Consider using a mix of chip sizes or even chunks of high-quality chocolate for variation in texture.
8. Optional Add-Ins for Customization
While the basic recipe is already fantastic, you can add your touch with some optional ingredients:
- Nuts: Walnuts or pecans for added crunch.
- Sea Salt: A sprinkle of flaky salt on top for a gourmet touch.
- Spices: A pinch of cinnamon or nutmeg for a warm twist.
Having the right ingredients and using them correctly are key to recreating Disney’s chocolate chip cookies. With high-quality components and a few tips in mind, you’ll enjoy the magic of Disney in your kitchen with every batch!
Step-by-Step Guide to Baking Disney’s Chocolate Chip Cookies

Making Disney’s chocolate chip cookies at home can be a magical and rewarding experience. With attention to detail and a few tricks, you’ll create delicious cookies that rival those served at Disney resorts. Follow this detailed guide to achieve perfection:
1. Preparing Your Ingredients and Equipment
Preparation is key to stress-free baking.
- Gather ingredients: Ensure all ingredients are at room temperature for smoother mixing and better results, particularly butter and eggs.
- Preheat the oven: Set your oven to the specified temperature (usually 175°C or 350°F). This ensures cookies bake evenly right from the start.
- Prepare the baking trays: Line your baking sheets with parchment paper or silicone mats to prevent sticking and promote even browning.
- Measure ingredients: Use a digital scale to weigh ingredients accurately, ensuring consistent results.
2. Mixing the Dough: Wet and Dry Components
Creating the perfect cookie dough involves mixing your ingredients properly.
- Step 1: Cream butter and sugar
Beat the softened butter with granulated and brown sugars until the mixture is light and fluffy. This incorporates air into the dough, helping achieve soft, chewy cookies.- Tip: Use a stand mixer or hand mixer for efficiency.
- Step 2: Add eggs and vanilla extract
Gradually beat in the eggs one at a time, ensuring each is fully incorporated. Add the vanilla extract for flavor enhancement. - Step 3: Combine dry ingredients
In a separate bowl, whisk together the flour, baking soda, and a pinch of salt to distribute the leavening agents evenly. - Step 4: Bring it together
Gradually add the dry ingredients to the wet mixture. Mix just until the dough comes together—overmixing can make the cookies tough. - Step 5: Fold in chocolate chips
Use a spatula to gently mix in the semi-sweet chocolate chips, ensuring even distribution without breaking them.
3. Chilling the Dough: A Key to Success
Chilling the dough enhances flavor and texture.
- Why chill? Cooling the dough solidifies the butter, preventing the cookies from spreading too much during baking.
- How long to chill? Refrigerate the dough for at least 30 minutes, or up to overnight for deeper flavor.
4. Shaping and Portioning the Cookies
Consistent portions ensure even baking.
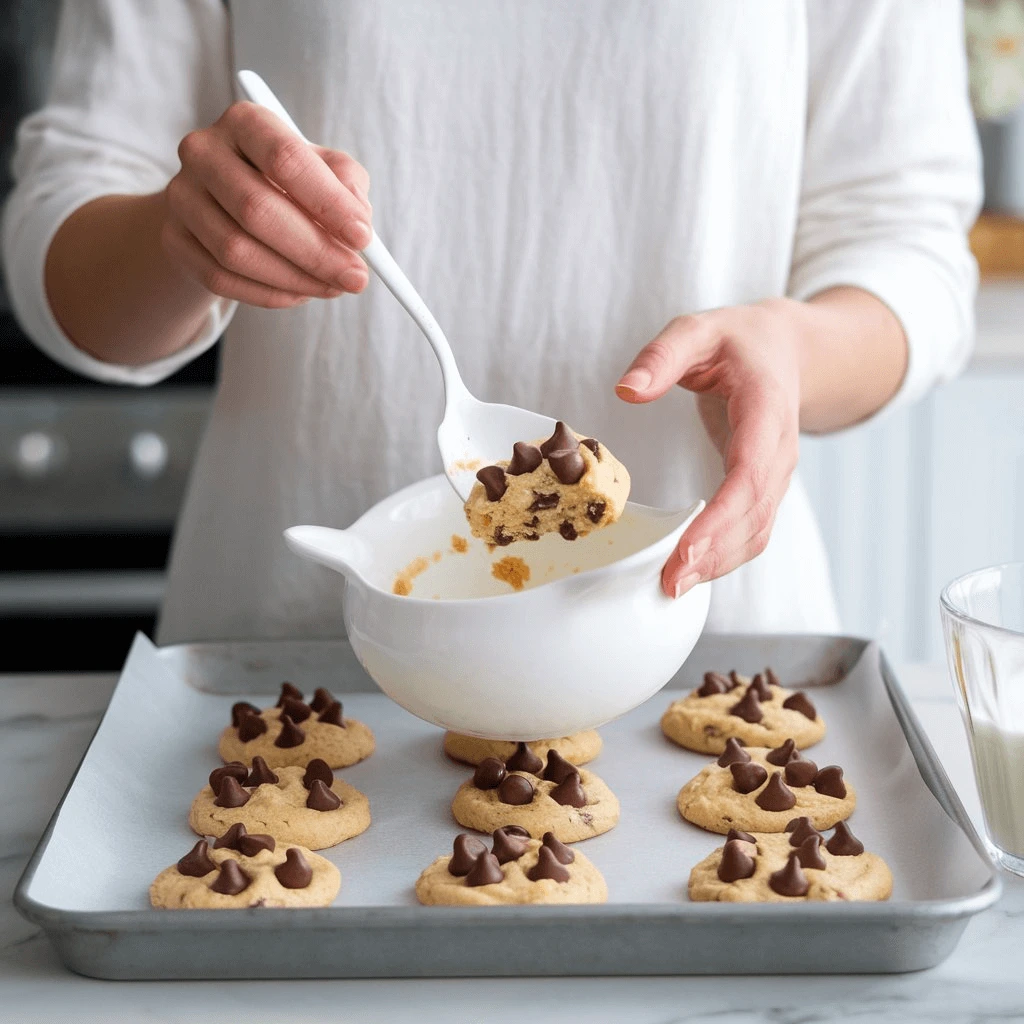
- Scoop the dough: Use a cookie scoop or a tablespoon to portion the dough into even balls.
- Space them out: Arrange the dough balls on the prepared baking sheets, leaving enough space (2–3 inches) between each ball to allow for spreading.
- Optional: For aesthetic appeal, press a few extra chocolate chips on top of each ball before baking.
5. Baking the Cookies: Achieving the Perfect Texture
Timing and temperature are everything.
- Bake time: Place the trays in the preheated oven and bake for 10–12 minutes, or until the edges are golden brown but the centers are slightly soft.
- Rotate the tray: If your oven has hot spots, rotate the baking sheet halfway through to ensure even baking.
- Check for doneness: The cookies should look underbaked in the center when you take them out—this ensures they remain chewy as they cool.
6. Cooling and Enjoying the Cookies
Proper cooling ensures the best texture and flavor.
- Initial cooling: Let the cookies rest on the baking tray for 2–3 minutes after removing them from the oven. They will
Pro Tips and Variations to Try
Baking Disney’s chocolate chip cookies is an enjoyable and simple process, but there are a few professional tips and creative variations to elevate your cookies and make them truly your own. Whether you want to fine-tune the texture, enhance the flavor, or try out a new twist, these tips and variations can take your cookies from great to extraordinary.
1. Chill the Dough for Best Results
While it may be tempting to bake the cookies immediately after mixing, chilling the dough for at least 30 minutes (or up to overnight) helps improve texture and flavor. Chilled dough prevents cookies from spreading too much during baking, allowing them to retain a thicker, chewier texture and enhancing the flavor as the flour fully absorbs the wet ingredients.
- Pro Tip: For even better results, chill the dough in an airtight container, and if you prefer slightly thicker cookies, let the dough sit for a couple of hours in the refrigerator before baking.
2. Adjust the Ratio of Chocolate
Disney’s chocolate chip cookies use semi-sweet chocolate chips, but you can customize the recipe by mixing different types of chocolate for added depth of flavor.
- Dark Chocolate: Use dark chocolate chips or chopped dark chocolate for a more intense, bittersweet flavor.
- Milk Chocolate: If you prefer sweeter cookies, try using milk chocolate chips instead of semi-sweet.
- Chocolate Chunks: Chopped chocolate bars add extra pockets of gooey chocolate, giving you a thicker, more indulgent texture.
- Pro Tip: Combine semi-sweet, dark, and milk chocolate for the ultimate variety and flavor contrast in every bite.
3. Incorporate Nuts for Crunch and Flavor
If you like a bit of crunch and depth, try adding nuts to the dough. Walnuts, pecans, or even macadamia nuts are great additions, complementing the chocolate and adding a rich, earthy taste.
- Pro Tip: Toast the nuts lightly before folding them in for a roasted flavor boost. This will enhance their natural oils and bring out more of their richness.
4. Try a Sea Salt Sprinkle for a Touch of Luxury
If you love the contrast between sweet and salty, try a sprinkling of flaky sea salt on top of your cookie dough balls before baking. As the cookies bake, the salt will add a lovely balance to the sweetness, and it will also give the cookies a sophisticated touch.
- Pro Tip: Use flaky sea salt like Maldon for the best texture and flavor. A pinch on each cookie just before baking creates a melt-in-the-mouth experience.
5. Experiment with Spices for Added Warmth
While Disney’s original recipe relies on the rich taste of vanilla, adding spices like cinnamon, nutmeg, or a dash of instant coffee can bring extra warmth to the flavor profile.
- Cinnamon: A pinch of cinnamon will create a cozy, warm spiced flavor, perfect for the holiday season.
- Instant Coffee: Just a teaspoon of finely ground instant coffee will amplify the chocolate flavor, adding complexity and depth.
- Nutmeg: Nutmeg brings a light, aromatic note that pairs wonderfully with chocolate.
- Pro Tip: Mix in the spices when you add the flour and baking soda to ensure even distribution.
6. Make Them Gluten-Free or Dairy-Free
If you have dietary restrictions or prefer alternative ingredients, you can easily modify the recipe to make it gluten-free or dairy-free.
- Gluten-Free Option: Substitute the all-purpose flour with a high-quality gluten-free all-purpose flour blend, making sure it contains xanthan gum to maintain structure.
- Dairy-Free Option: Replace the butter with vegan butter or coconut oil, and use dairy-free chocolate chips.
- Pro Tip: When making substitutions, keep the dough chilled for longer, as some gluten-free blends may cause the dough to become stickier than regular dough.
7. Add a Touch of Toffee for Extra Sweetness
For a rich, buttery flavor with added caramel undertones, try folding in a handful of toffee bits into the dough. They will melt slightly during baking, creating pockets of sweetness that complement the chocolate.
- Pro Tip: Opt for high-quality toffee bits or chop up your own toffee bars for a gourmet twist.
8. Freeze the Cookie Dough for Future Baking
One of the best things about chocolate chip cookies is how well the dough freezes. You can scoop and roll the dough into individual cookie balls and freeze them on a baking sheet. Once frozen, transfer the dough balls into a ziplock bag or airtight container for up to 3 months.
- Pro Tip: When baking from frozen, add 1–2 extra minutes to the baking time to ensure your cookies are fully baked. This makes for easy and quick baking whenever a cookie craving strikes.
Conclusion
Baking Disney’s chocolate chip cookies with metric measurements brings consistency and precision to your kitchen, making it easier than ever to create a perfectly balanced, delicious treat. By following each step carefully—from gathering the right ingredients and using accurate measurements to perfecting your baking technique—you’re sure to enjoy cookies that are just as magical as the ones served at Disney parks.
The beauty of this recipe lies not only in the wonderful flavor and texture of the cookies but also in how adopting metric measurements takes the guesswork out of baking. With grams and milliliters as your guide, every batch you make can be as perfect as the last. This simple yet delicious recipe can be adapted to suit your own preferences, whether that’s through adding extra chocolate chips, adding nuts, or experimenting with various types of chocolate.
Ultimately, the joy of baking Disney’s chocolate chip cookies at home isn’t just about the end result—it’s about creating lasting memories in the kitchen and sharing these delightful cookies with friends and family. So next time you’re craving something sweet, grab your ingredients, measure with precision, and embark on your own magical baking adventure!
